Tuesday, October 12, 2010

Pumpkin* Creme Pies With A Message

I promise that I'm going to have some sewing-related posts coming soon.  But for today here is something that is crafty, yummy, and cute.  These pumpkin* creme pies have something to say: 


Of course while you're pretty great, this message was directed at a certain person.  A certain person who left me a message last week with some Bananagrams tiles. 

So I baked up a response and used a pastry bag (or a ziploc bag) for the first time.  Here are the pictures:  


I ended up smoothing these out a bit with a knife (cutting a hole that's too big in your pastry bag makes it harder to do this neatly:
 
Here they are nicely patched up with their best matched partners (size-wise):
 
And here they are with the DELICIOUS filling.  You really can't go wrong with cream cheese butter sugar, can you?

And here is the recipe:
Pumpkin Creme Pies
1 cup Brown Sugar
1 cup Sugar
1 cup Vegetable Oil
1 can Pumpkin (15 Oz.)
2 whole Eggs
1 teaspoon Vanilla Extract
3 cups All-purpose Flour
1 teaspoon Baking Soda
1 teaspoon Baking Powder
1 Tablespoon Cinnamon
1 teaspoon Ground Ginger
½ teaspoons Salt
½ teaspoons Ground Nutmeg
¼ teaspoons Ground Cloves

FOR FILLING:
1 package Cream Cheese Softened (8 Oz.)
1 stick Unsalted Butter, Room Temperature
1 package Powdered Sugar (16 Oz.)
3 drops Vanilla Extract
2 dashes Cinnamon

I got it from The Tasty Kitchen which has much more detailed pictures so please go look!

But remember, if you're halving this recipe (as I did) then you need to halve everything and that includes the eggs.  My pumpkin* creme pies are really pumpkin cakes due to the extra egg. Whoops!


*Am I the only one in the world who types pumpking instead of pumpkin EVERY SINGLE TIME?

Monday, October 11, 2010

Apple Crisp

 
It's Fall here which means there are lots of apple and pumpkin desserts being discussed everywhere and craved by me.  So here is some apple crisp for you!  

It took me awhile to find a recipe that I liked.  I picked this one because it was mostly about the apples instead of just being butter-sugar with some apples under it.  Plus I loved that the topping had so much oatmeal in it.  I added even more (probably to 1 cup total) and it made such a nice yummy, hearty crunch on top of the soft apples.

1. Wash and peel 6 apples (I used Fiji):

2. Spend forever coring and slicing:

3. Mix up the topping:

4. Mush butter around with a fork and knife and then add a pastry cutter to your Christmas List:

5. Add topping to the sliced apples:

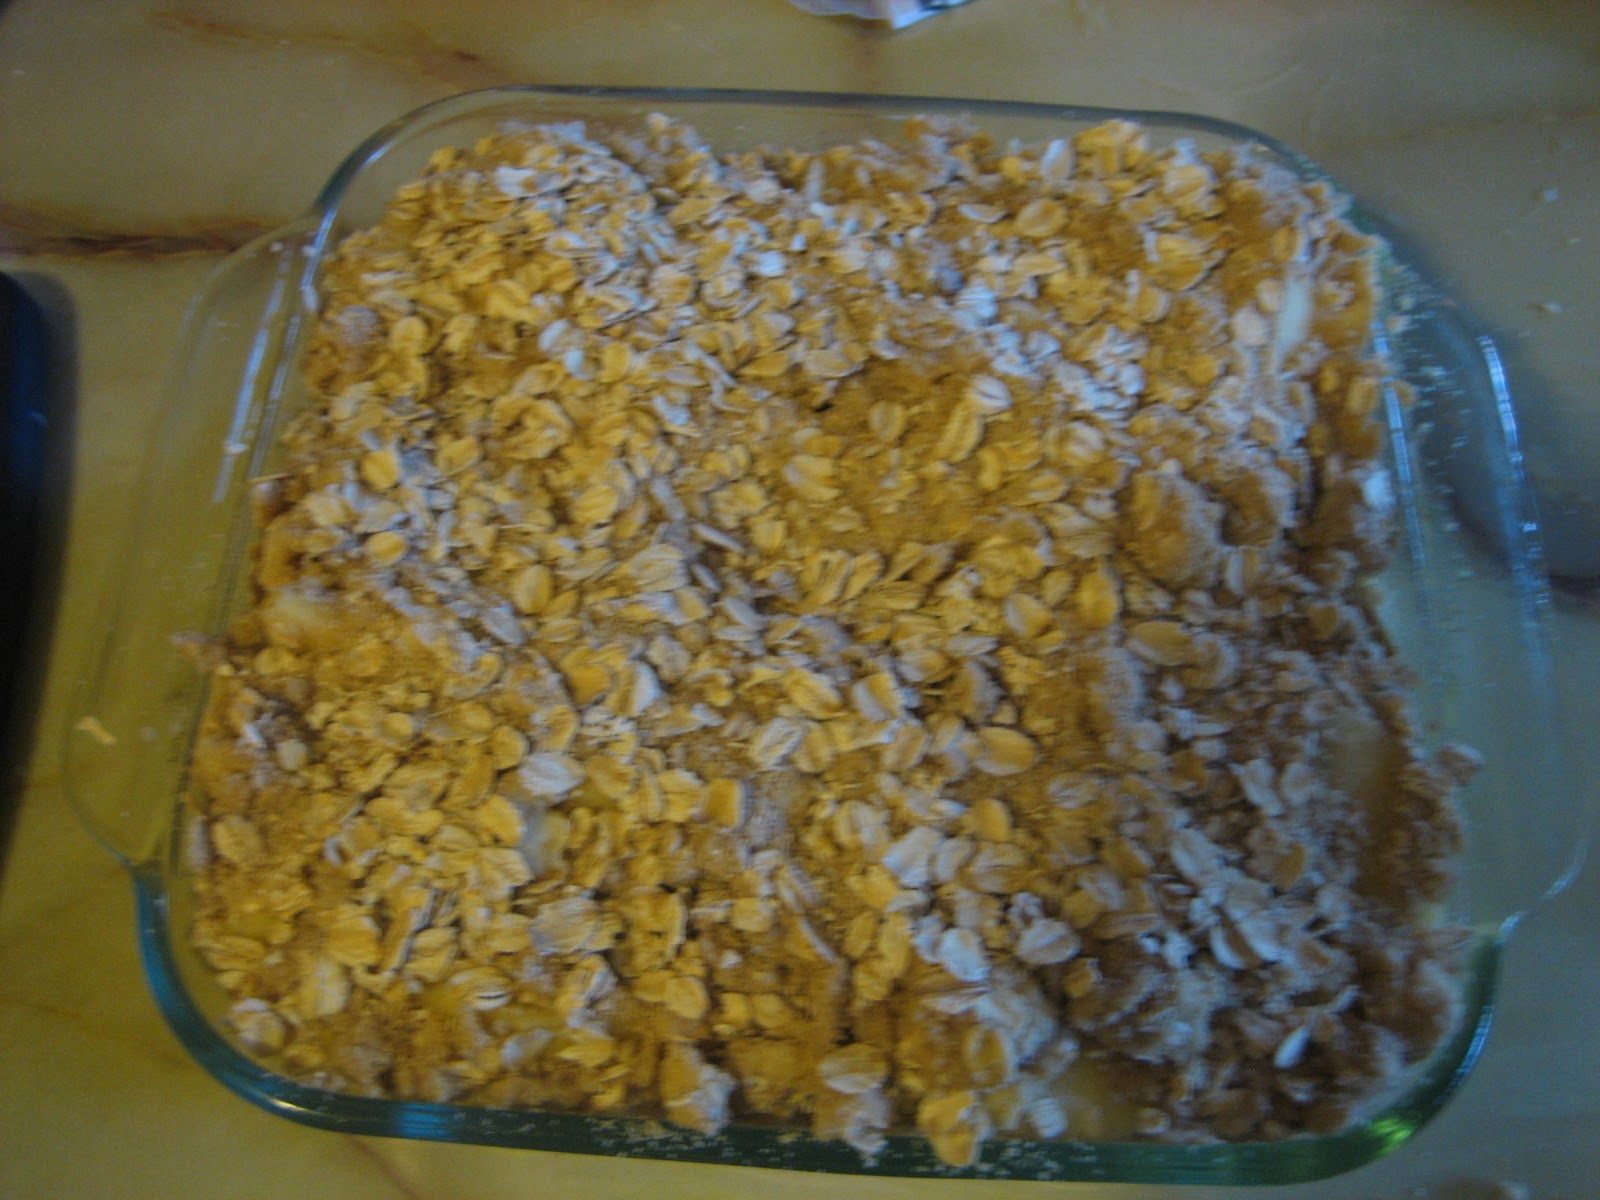
6. Decide there's not enough oatmeal and add more:

7. Check on the crisp in the oven and notice the topping burned in spots and assume the apples aren't soft enough yet, so add foil to the pan (but logically don't take a picture of it with the foil on it [sarcasm]):

8. All done!

And here is the recipe for you!

Apple Crisp
recipe originally from food.com

6-7 apples, peeled, cored, & sliced (I used Fiji)
3/4 cup oatmeal (I added some more in the end)
3/4 cup brown sugar
1/2 cup wheat flour
3/4 of one stick of butter

1. Peel, core, and slice all apples.  Add slices to a greased square pan.
2. Preheat oven to 350. Mix the oatmeal, brown sugar, & wheat flour together in a bowl.
3. Use a pastry cutter to mix in 3/4 of one stick of butter.
4. Add topping to sliced apples.
5. Add more oatmeal if you like.
6. Cover the pan with foil to avoid burning the topping.  Cook for 40-50 minutes.

Friday, October 8, 2010

Thursday, October 7, 2010

Caprese Salad

I've never been a huge fan of tomatoes, but they're growing on me as I age.  My favorite kind of tomatoes are the grape ones. (Not cherry, but even smaller, grape!)  I was introduced to this delicious "salad" awhile ago and I crave it every once in awhile.  Though please make sure you have red wine and good french bread on hand when you eat it because you'll soon be wanting it.

1. All you need is grape tomatoes, fresh mozzarella (they'll have it in the deli fancy cheese section floating in liquid), basil leaves (this is much cheaper if you bought a $1 basil plant from Meijer a few months ago), and some olive oil.

2. If your grape tomatoes are nowhere the size of grapes (like the ones pictured below) then you'll want to cut them in half to make them more bite-size.

3. Put tomatoes and mozzarella in a bowl, add in the basil leaves (rip them up a bit so they're smaller), and toss in a bit of olive oil.  Voila!

4. If you're anal like me then you'll eat one piece of tomato, one piece of mozzarella, and one piece of basil in every bite.

Wednesday, October 6, 2010

Quiche

I decided to try making a quiche.  And oh man, was it yummy!  I'll definitely be making it regularly.  I had to do 2/3 the recipe because my crust wasn't big enough to begin with and then shrunk when I cooked it by itself (this is where the other half of the tiny pie dough went!).

Here is the recipe from food.com

1 1/2 cups shredded cheese
tablespoons flour
cup milk
eggs, slightly beaten
1/2 cup grated parmesan cheese
inches unbaked pie shell
anything else you have on hand and want to add (the original recipe & the comments have lots of good suggestions)

1. Lightly beat eggs. 
2. Add milk, flour, & cheese, mix well (and anything else you're adding in).
3. Pour into unbaked pie shell.
4. Bake at 350* for 50-60 minutes or until set. (I recommend covering the crust edges with foil for the first half hour to prevent burning)


And here are the pictures!

1. Crust ready to go:

2. Some of the recipe comments said to pre-bake the crust to stop it from getting soggy.  So I put it in the oven with the tiny pies.

3. Here it is full of yummy egg-y goodness.  I put in slightly carmelized onions, broccoli, sundried tomatoes, and regular tomato.  Also instead of just cheddar cheese I also used smoked gouda and havarti.
 
4. And here it is ready to eat:


Man, it was gooooooood!  I also made plain biscuits to go with the quiche and I ate mine with strawberry jam.

Tuesday, October 5, 2010

Tiny Apple Pies!

 My boyfriend and I made these together, so please note that the large hands pictured are not mine.

Here is another way to use up your Crockpot Apple Pie Filling.  Tiny pies!  Oh, the cuteness!

1. Add 5 tablespoons cold water to Jiffy pie crust mix (it was very very delicious. Please use this crust!)

2. Roll out half of the dough. (The other half of the dough went to something you'll see tomorrow.)

3. Find appropriately sized circles.  A larger one for the bottom and a smaller one for the top.  Then start making your dough circles.

4. Put larger circle in muffin pan. Fill with apple pie filling. Pinch top and bottom together
(Tip: have more dough sticking up on the bottom than pictured so you can successfully pinch the pieces together.)

5. Add cute air vents.

 6. Bake 15 minutes in 400 degree oven. The only top that stayed on it the one my boyfriend did using a knife.  My pinching was not effective since the bottom wasn't big enough.  But still, the tiny pies tasted delicious.
Best mug ever! It has feet! It even serves as a pie plate when all the plates are in the dishwasher. I love thrift stores.

Monday, October 4, 2010

Crockpot Apple Pie Filling


 Crockpot Apple Pie Filling
adapted from food.com


4 apples, peeled, cored, & sliced (I used Fiji)
1/4 cup white sugar
1/4 cup brown sugar
2 tablespoons corn starch
1/2 cup applesauce
1 tablespoon cinnamon
sprinkle nutmeg
1 tablespoon butter

Optional: add frozen blueberries (the picture below include blueberries)


1. Peel, core, and slice all apples. The thinner the slices, the faster they cook.
2. Add apples, both sugars, corn starch, applesauce, cinnamon & nutmeg to your crockpot and mix until apples are nicely coated.
3. Place butter on top of apple mixture.
4. Turn your crockpot* to HIGH for 1 1/2 - 2 hours or LOW for 3 1/2 - 4 hours.  Stir the apples halfway through and add more applesauce if you'd like a thicker and juicier sauce.

*If you don't have a crockpot you can cook them on your stovetop in a pot on low.  I'm not sure how long it will take, just keep checking if the apples are soft enough for your liking yet.

Ideas for how to eat these apples once they're done:

1. On top of pancakes instead of syrup:


2. On top of french vanilla ice cream:

3. On top of oatmeal.

4. On top of french toast.

5. Put them into some sort of crust to create a tiny apple pie, or turnover, or crisp.

Please leave your ideas in the comments!  I have over 2 cups of apple goo left and 10 more apples in the fridge!

Sunday, October 3, 2010

Easy Cinnamon Biscuits Revisited

Easy Cinnamon Roll Biscuits
2 cups flour
1 tablespoon baking powder
1 teaspoon salt
1/4 teaspoon baking soda
1/4 cup applesauce (I never use vegetable oil)
3/4 cup buttermilk
70% of a stick of unsalted butter, SOFTENED (reduced from 1 stick in the original recipe)
1/2 cup brown sugar 
1 1/4 teaspoons cinnamon

Cinnabon Icing- I halved the original recipe since the above recipe only makes 8 biscuits
30% of a stick of butter (reduced from 1/2 stick in the original recipe, I'm trying to shave calories & fat here and there)
3/4 cups powdered sugar
1/8 cup Neufchatel cream cheese (I didn't taste a difference with the reduced fat)
1/4 teaspoon vanilla
sprinkle of salt (technically should be 1/16 of a teaspoon, but....)

1. Mix together dough ingredients.
2. Roll dough out on a lightly floured surface (I used too much, use less than me please).

3. Smear dough with SOFTENED butter (I use salted).  The original recipe said 1 stick, but that just seems ridiculous to me.  I use about 70% of a stick of butter.  Then the rest of it can go in the icing and then in one iced biscuit you only end up eating 1 tablespoon butter.

4. Sprinkle with cinnamon and brown sugar.

5. Roll up dough into a log and pinch seam together.

6. Cut into 8 biscuits.

7. Arrange in greased 9 inch pan.

8. Put in the oven for about 15 minutes.
9. While you're waiting, make icing!  Mix up all icing ingredients:


10. Whip until fluffy:

11. Biscuits!

12. Ice biscuits while they're still warm (mine melted A LOT because I put the icing on instantly.  Hey, I was hungry when I woke up and had to wait like 40 minutes for breakfast). I only did half because my boyfriend wanted to ice his biscuits individually.

Saturday, October 2, 2010

Fancy Boxed Mac and Cheese


We have a bunch of Annie's white cheddar mac and cheese that I bought at Target when it was on sale for $1a box.  My boyfriend isn't a big fan of mac and cheese so I wanted to make it a bit fancier and yummier.  This is what I came up with!

Fancy Boxed Mac and Cheese
1 box mac and cheese
1 cup broccoli
1/2 cup sundried tomatoes
1 cup shredded cheese
1/4 cup Panko breadcrumbs
1 teaspoon Italian seasoning
1/4 teaspoon garlic powder
little bits of butter

1. Make a box of mac and cheese according to directions.

2. If you're making Annie's mac and cheese you'll mix the powder with 1/4 cup milk (actually this seemed a bit watery and I'll use less next time):

3. While the water is boiling steam broccoli:

4. Chop up the broccoli into bitesize pieces.
5. Drain the macaroni.  Put it back in the pot.

6. Add the chopped up broccoli, some sundried tomatoes, and some shredded cheese (I used 1/4 cup havarti and some parmesan but next time I'll use a bunch more) to the noodles. Mix until the cheese is melted.
*7. Mix together the topping. I used Panko bread crumbs because I have seen 2 mac and cheese recipes using it as a topping recently and because I first heard about it in Cooking Light magazine and am therefore convinced it is healthier even though I haven't compared nutrition facts. I'm glad that I used it because it added a really nice crunch to the soft mac and cheese.


8. Sprinkle the topping over the mac and cheese.  Add a few bits of butter.

9. Bake in a 350 degree oven for 12 minutes. 
 10. Enjoy while feeling fancy!
*I don't know why step 7 and the picture below turned white and I can't figure out how to fix it.  Sorry!